Florida air conditioners work through long cooling seasons, high humidity, heavy rain, and salty coastal air. That constant workload makes regular AC maintenance in Florida a practical part of home care, not a once-a-year chore.
You can handle several simple tasks without touching refrigerant, wiring, or sealed equipment. The right routine helps you spot clogged filters, blocked drainage, airflow problems, and outdoor debris before they become expensive service calls.
Key Takeaways
- Check the filter, vents, drain system, and outdoor unit every month during Florida's cooling season.
- Turn off power at the outdoor disconnect or breaker before working near the condenser.
- Use only gentle cleaning methods, and never open electrical compartments or refrigerant lines.
- Water leaks, burning smells, ice, unusual noises, and weak cooling require professional service.
Start With These AC Safety Rules
Before cleaning or inspecting any air conditioner, switch the thermostat to off . That stops a cooling call, but it doesn't always disconnect power from the outdoor unit.
Any task that brings you near the condenser requires a second step. Turn off the dedicated outdoor disconnect, or switch off the correct breaker at the electrical panel. Verify that the outdoor fan doesn't start before you continue. If you aren't sure which breaker controls the system, stop and call an HVAC professional.
Wear work gloves when handling filters or outdoor debris. Work on dry ground, avoid ladders unless someone is nearby, and keep children away from the equipment. Never remove access panels, touch capacitors, loosen copper fittings, add refrigerant, or work on electrical connections.
A basic homeowner toolkit may include a replacement filter, a flashlight, a soft brush, a vacuum with a brush attachment, a clean cloth, white vinegar, and a low-pressure garden hose. Avoid pressure washers, sharp tools, and chemical coil cleaners unless a technician directs you to use them.
Improve Airflow With Four Simple Tasks
Good airflow starts inside the home. These jobs take little time, but they can reveal problems that are easy to miss during a busy week.
1. Check and Replace the Air Filter
A dirty filter restricts return airflow and forces the system to work harder. In Florida, check the filter every 30 days because air conditioners often run for much of the year.
Turn the thermostat off, then slide the filter from its slot near the return grille or air handler. Hold it toward a light. If dust covers the filter surface or you can't see light through it, replace it with the correct size and type listed on the old filter or equipment instructions. Follow the arrow on the frame so air flows in the proper direction.
Most disposable filters need replacement rather than washing. Recheck them monthly, especially after construction, a move, a storm, or other unusually dusty activity. Call a professional if the filter becomes dirty within days, if the slot is wet, or if the system struggles after you install a clean filter.
2. Check the Thermostat
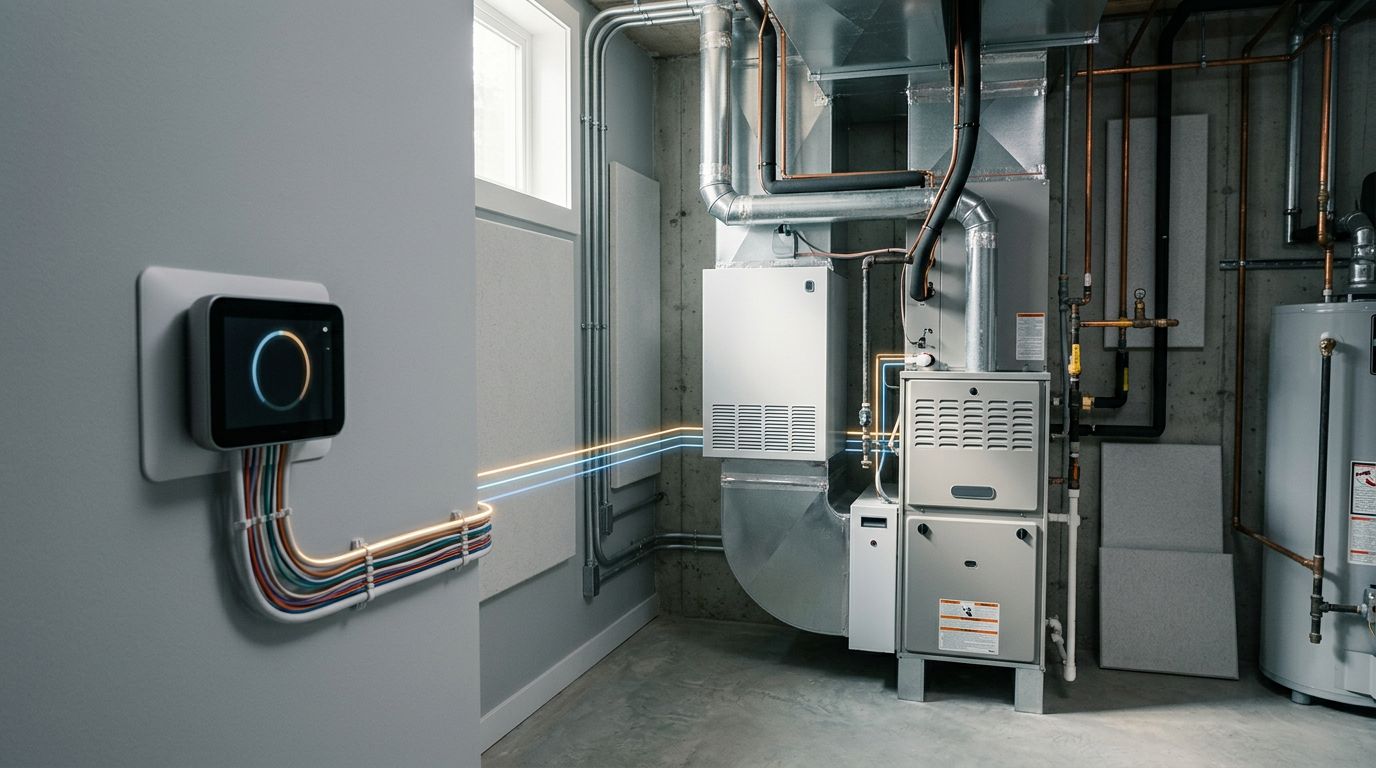
A thermostat check can catch a simple setting or battery problem. Use a soft, dry cloth to remove dust from the outside. If your thermostat uses batteries, replace them according to the manufacturer's instructions.
Set the system to cooling and lower the temperature slightly below the room temperature. Confirm that the indoor unit starts and that cool air reaches the main rooms. Keep the thermostat away from lamps, direct sunlight, ovens, and supply vents because nearby heat can affect its reading.
Test the thermostat once a month during regular use. Don't remove the faceplate or handle exposed wires. If the display goes blank, the system short-cycles, or the temperature doesn't match the room, schedule service rather than guessing at the wiring.
3. Vacuum Return Grilles and Supply Vents
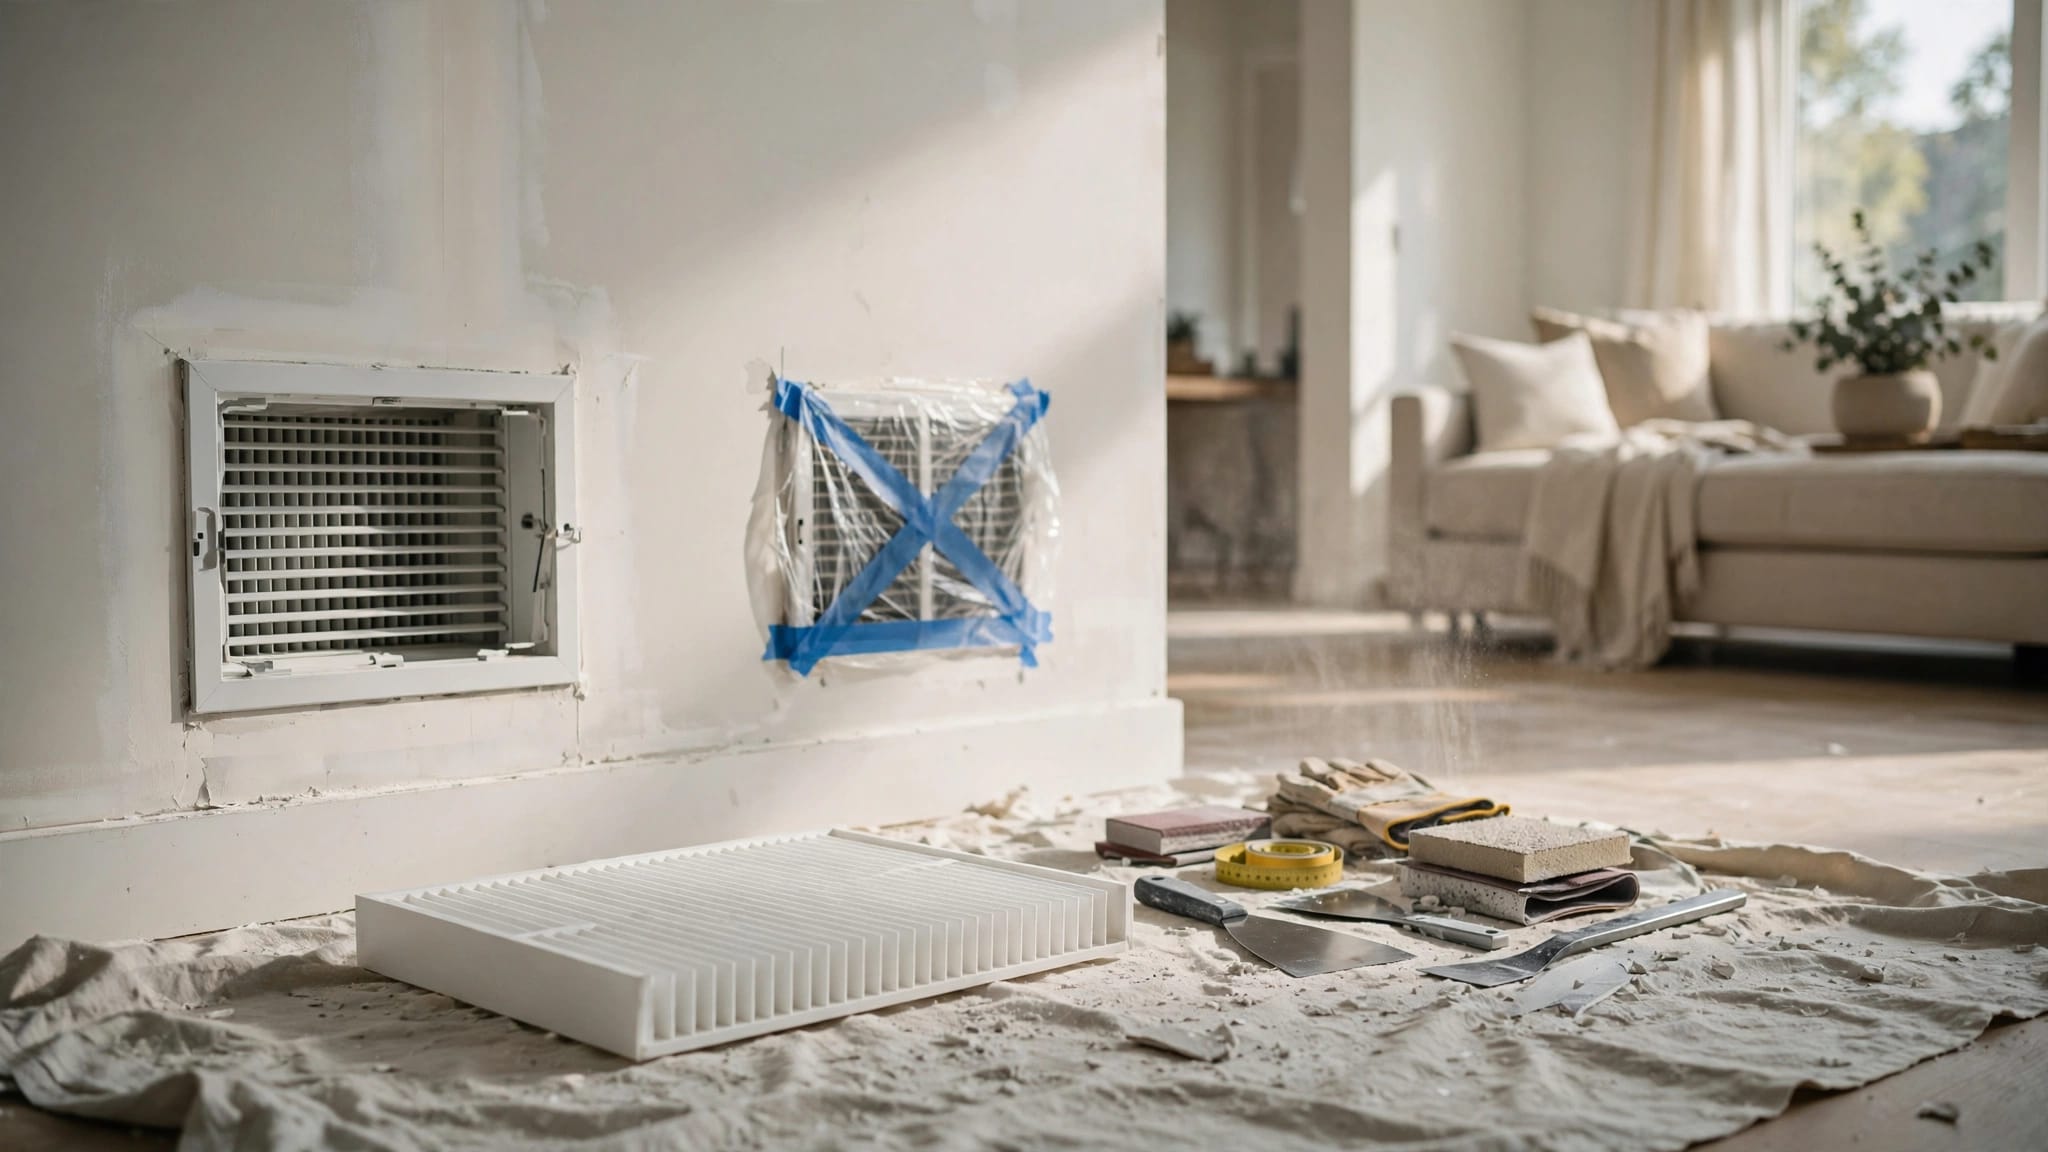
Dust on grilles and vents can reduce airflow and spread particles through the home. Use a vacuum brush attachment to clean the return grille and the visible parts of each supply register.
For heavier buildup, wipe metal or plastic surfaces with a slightly damp cloth. Make sure the surfaces are dry before turning the system back on. Keep furniture, curtains, storage bins, and rugs away from supply vents and return openings.
Clean these areas monthly, or more often if you have pets, recent remodeling, or visible dust. If a vent has dark growth, moisture, damaged insulation, or a strong persistent odor, don't remove connected ductwork. A technician can inspect the duct and air handler safely.
4. Clear Leaves and Debris Around the Outdoor Unit
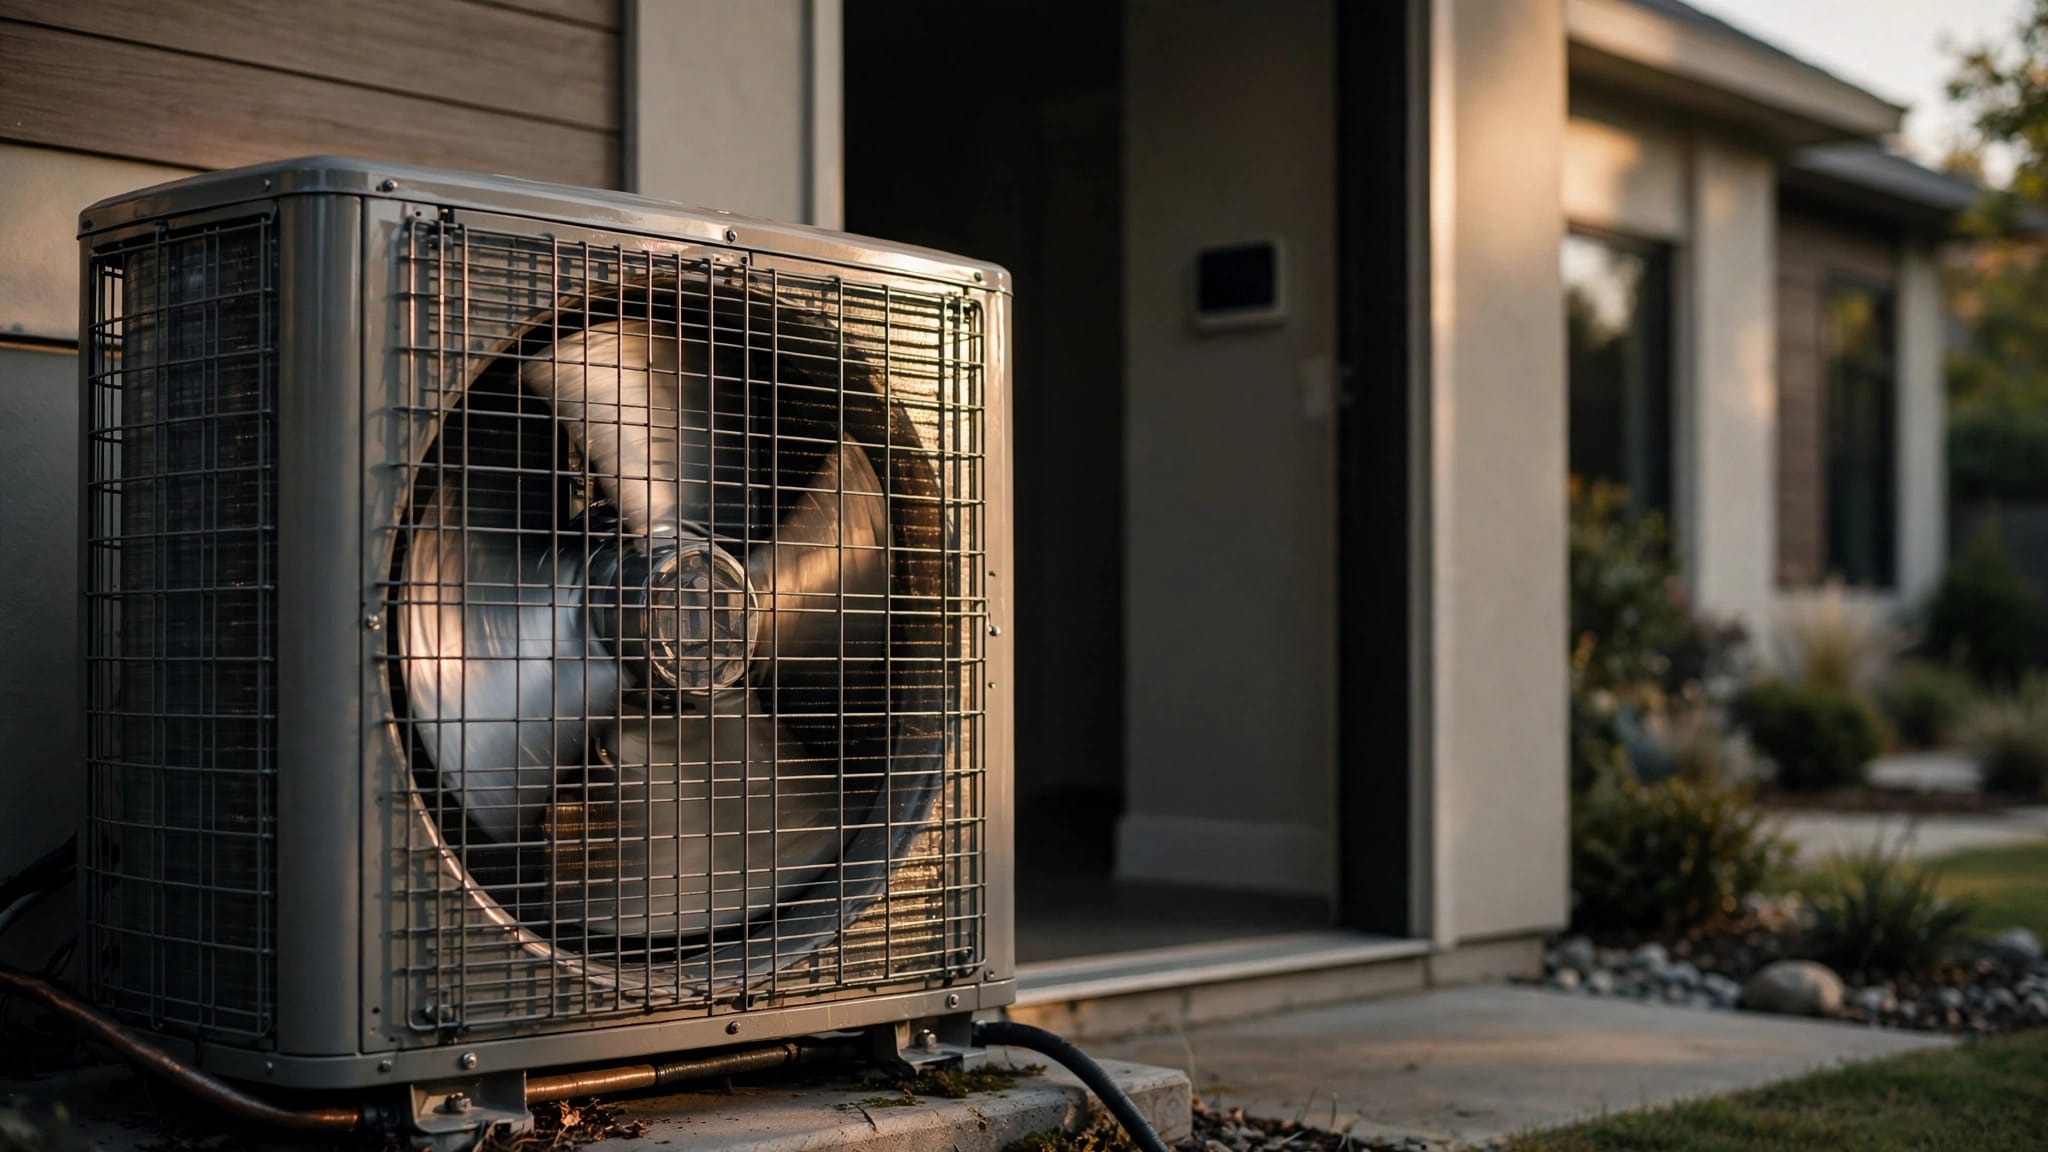
The condenser needs open space to release heat. Walk around the unit once a month and remove leaves, grass clippings, branches, toys, and stored items.
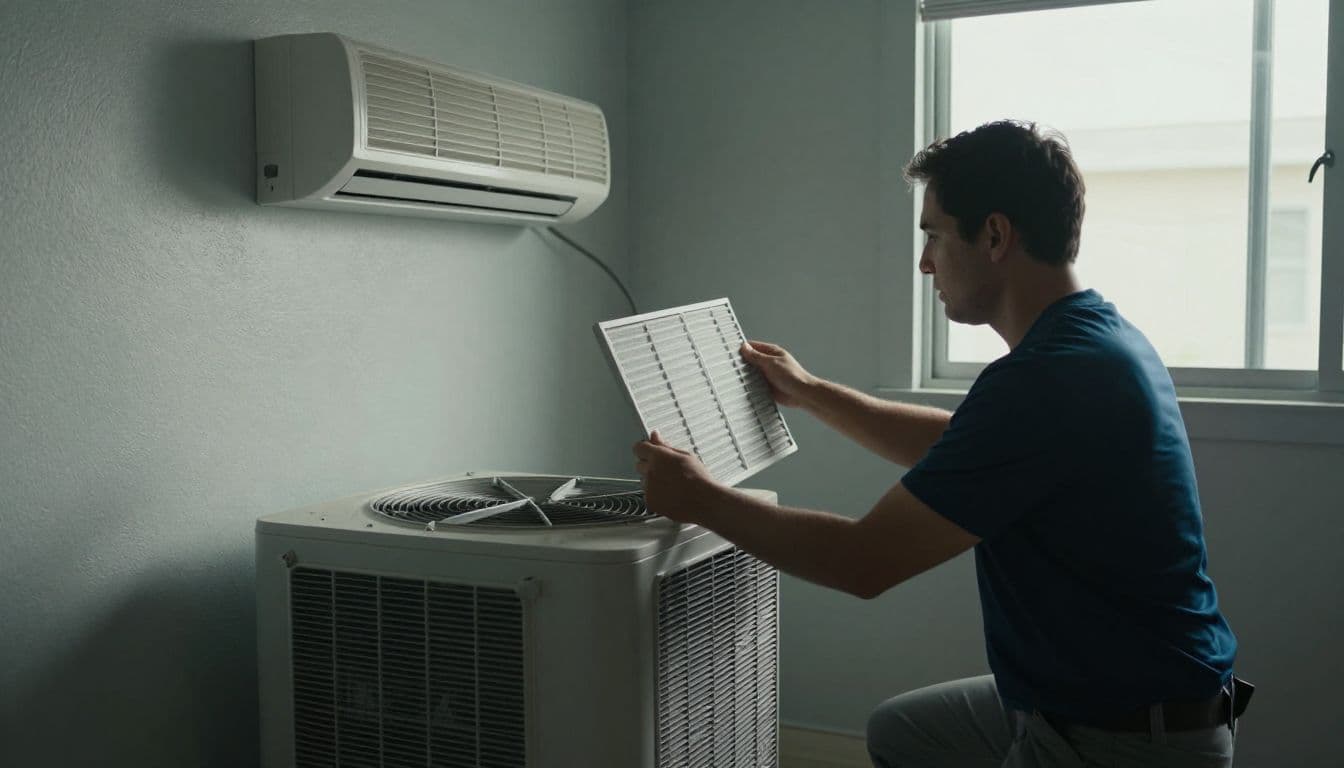
Before reaching near the unit, turn off the thermostat and disconnect power at the outdoor disconnect or breaker. Pick up loose debris by hand, then trim plants back so they don't press against the cabinet. Leave enough open space for service access and airflow, based on the manufacturer's clearance requirements.
Check the area again after tropical storms or heavy yard work. Never reach through the grille while power is on. If the cabinet is leaning, badly rusted, damaged by debris, or surrounded by standing water, leave it alone and call for service.
Protect the Outdoor Unit and Drainage System
Florida humidity creates two common maintenance concerns: dirty condenser coils and clogged condensate drains. You can inspect both, but stay within the limits of simple cleaning.
5. Gently Rinse the Outdoor Coil
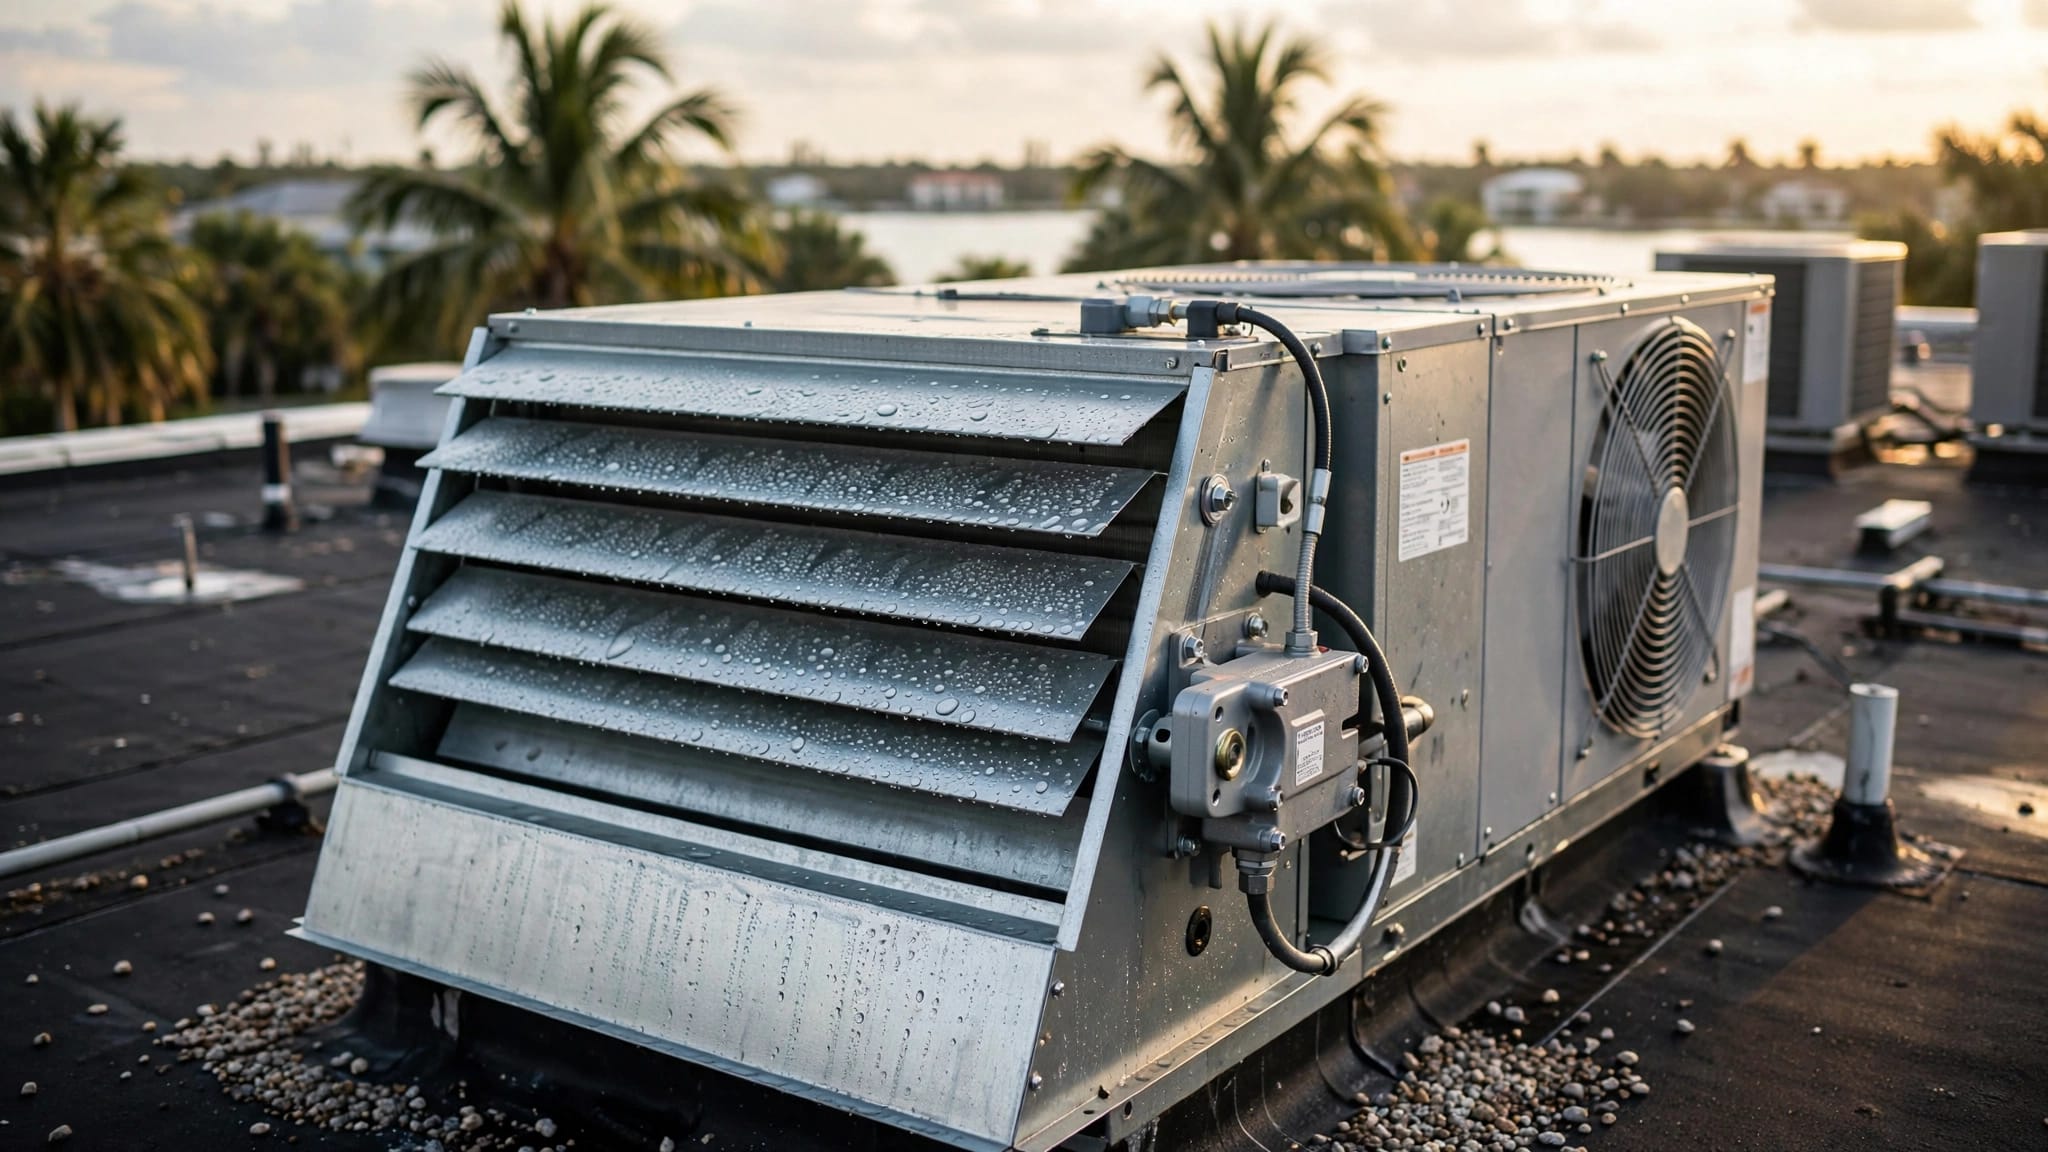
When the outdoor coil looks dusty, a gentle rinse can remove loose dirt. First, turn off the thermostat and shut off power at the outdoor disconnect or breaker. Wait several minutes so the fan cannot start unexpectedly.
Use a regular garden hose with low pressure. Lightly rinse the exterior coil from top to bottom. Keep the spray away from electrical panels, and never use a pressure washer. High pressure can bend delicate fins or drive dirt deeper into the coil.
Check the coil monthly and rinse it only when it looks dirty. Coastal homes may collect salt and airborne debris more quickly, but heavy buildup requires proper cleaning. Stop if the fins are bent, the coil is packed with grime, or you need to remove panels. A professional can clean the coil without damaging the equipment.
6. Flush an Accessible Condensate Drain
Your AC removes moisture from indoor air, and that water should flow through a condensate drain. A clog can cause the drain pan to fill and may shut down the system or damage nearby materials.
Turn the system off before locating the PVC drain line near the indoor air handler. If it has an accessible cleanout opening, pour a small amount of white vinegar into the opening. Follow the equipment manufacturer's instructions, and don't force liquid into a sealed pipe. Replace the cap afterward.
During heavy cooling use, check the drain monthly. Don't pour vinegar if you can't identify the correct opening or if the line has no safe access point. Water around the air handler, repeated shutdowns, algae buildup, or a clogged line calls for professional cleaning.
7. Inspect the Condensate Pan
Use a flashlight to look at the accessible drain pan below or beside the indoor coil. The pan should be dry or nearly dry when the system isn't actively draining water.
You may wipe dust from an accessible edge with a clean cloth. Don't remove the air handler cover, reach into the coil compartment, or attempt to repair a float switch. Those parts can involve electrical connections and sharp metal edges.
Inspect the pan monthly during the cooling season. Standing water, rust, cracks, slime, water stains, or a wet ceiling below the unit are reasons to turn the system off and call an HVAC professional. A pan that keeps filling usually points to a drainage or airflow problem.
Monitor Cooling Performance Without Opening the System
The final three tasks involve observation. They help you recognize changes early without requiring technical repairs.
8. Look at the Refrigerant Line Insulation
Many systems have an insulated copper line running between the indoor and outdoor units. From a safe distance, inspect the visible insulation for cracks, gaps, animal damage, or sections that have come loose.
Check it every few months and after severe weather. Don't touch the copper tubing, loosen fittings, or attempt to replace insulation near connections. Frost or ice on the line, oily residue, or damaged tubing can indicate a larger problem. Turn the system off and arrange professional service.
Homeowners should never add refrigerant. Refrigerant work requires specialized tools, training, and leak checks.
9. Check Airflow and Indoor Humidity
Once a month, walk through the rooms while the system runs. Supply vents should deliver steady airflow, and the home shouldn't feel damp after the AC has operated for a reasonable period.
Notice changes rather than chasing an exact temperature reading. A clean filter and open vents should not produce weak airflow. You can use a basic indoor thermometer or humidity monitor to record unusual changes, but the reading alone won't diagnose the cause.
Weak airflow, warm air, rooms that stay muggy, or frequent starts and stops deserve attention. Check the filter first. If the filter is clean and the problem remains, schedule service instead of adjusting blower settings yourself.
10. Listen for New Sounds and Smells
During each monthly check, listen for changes when the system starts and stops. Rattling, grinding, buzzing, squealing, repeated clicking, or hissing can point to mechanical, electrical, or refrigerant-related trouble.
A brief odor after a long period of disuse may fade, but a persistent musty, burning, or chemical smell needs attention. Turn the system off if you smell burning or hear loud mechanical noise. Don't spray deodorizer into vents or attempt to inspect the blower.
Keep a short record of the date, symptom, room, and operating conditions. That information can help a technician find the cause faster.
Know When DIY Maintenance Should Stop
Home maintenance is useful for cleaning, checking, and observing. It isn't a substitute for a complete professional inspection.
Stop and call an HVAC technician when you see:
- Ice on the indoor coil or refrigerant line
- Water leaking from the air handler or ceiling
- A burning smell, sparking, or repeated breaker trips
- Weak cooling after replacing the filter
- Loud or unfamiliar equipment noises
- Damaged wiring, capacitors, or electrical panels
- Refrigerant leaks or low-refrigerant symptoms
- Mold concerns inside ductwork or the air handler
A professional tune-up includes tasks homeowners shouldn't attempt, such as electrical testing, refrigerant checks, and coil cleaning inside restricted compartments. You can review what a professional AC tune-up includes before scheduling service. Homeowners who prefer scheduled reminders can also review HVAC maintenance agreements.
If your AC stops cooling during Florida heat, use Contact Us to schedule a service call.
Keep Your Florida AC Routine Safe and Simple
A clean filter, open vents, clear outdoor space, and working condensate drain support dependable cooling. Monthly checks also give you an early warning when the system starts behaving differently.
The most important safety habit is simple: turn off power before working near the outdoor unit , and leave electrical, refrigerant, coil disassembly, and sealed-system repairs to a qualified professional. Small maintenance steps can protect comfort, but knowing when to stop protects your home and your family.