A few clear photos can make an HVAC service call more productive before the technician even arrives. They help describe what you see, especially when a leak, error code, or noise doesn't happen on demand.
You don't need to inspect the inside of the equipment. Photograph only what you can see safely, then share the images when you schedule service. Those details give the technician a better starting point.
Why Photos Improve an HVAC Service Call
A photo can show where water is collecting, which thermostat setting is active, or whether an outdoor unit has obvious damage. It also helps the technician identify the equipment type and plan what tools or replacement parts may be useful.
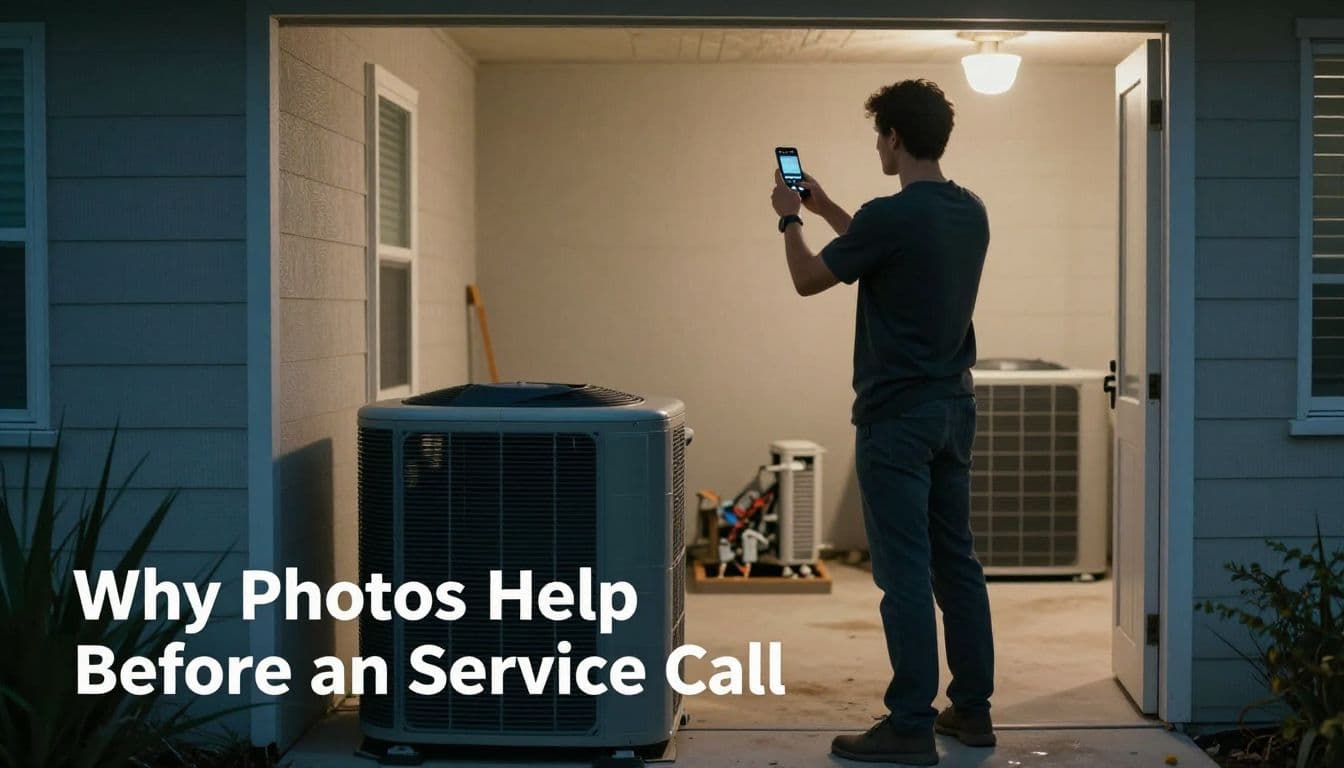
Take safe, useful pictures
Stand back for one wide shot that shows the equipment and the space around it. Then take a close-up of the detail that concerns you. Hold the phone steady, use good lighting, and tap the screen to focus before taking the photo.
Never open an air handler or condenser panel for a picture. Don't touch wiring, capacitors, switches, or wet electrical areas. If you smell burning, see sparking, or find a tripped breaker, keep clear and call for help.
A photo is most useful when it shows both the problem and its location, such as water beneath the air handler and a wider shot of the drain line above it.
Add a short description
Photos work best with a few plain notes. Mention when the problem began, whether the system still cools, and whether it happens all day or only during a rainstorm or hot afternoon.
For example, "The thermostat says 74, but the house reached 81 by 3 p.m." tells a technician far more than "AC isn't working."
Document Controls and Equipment Before Service
Start with the components that identify your system and show what it is trying to do. These three photos are safe to take without removing a cover.
1. Photograph the thermostat screen
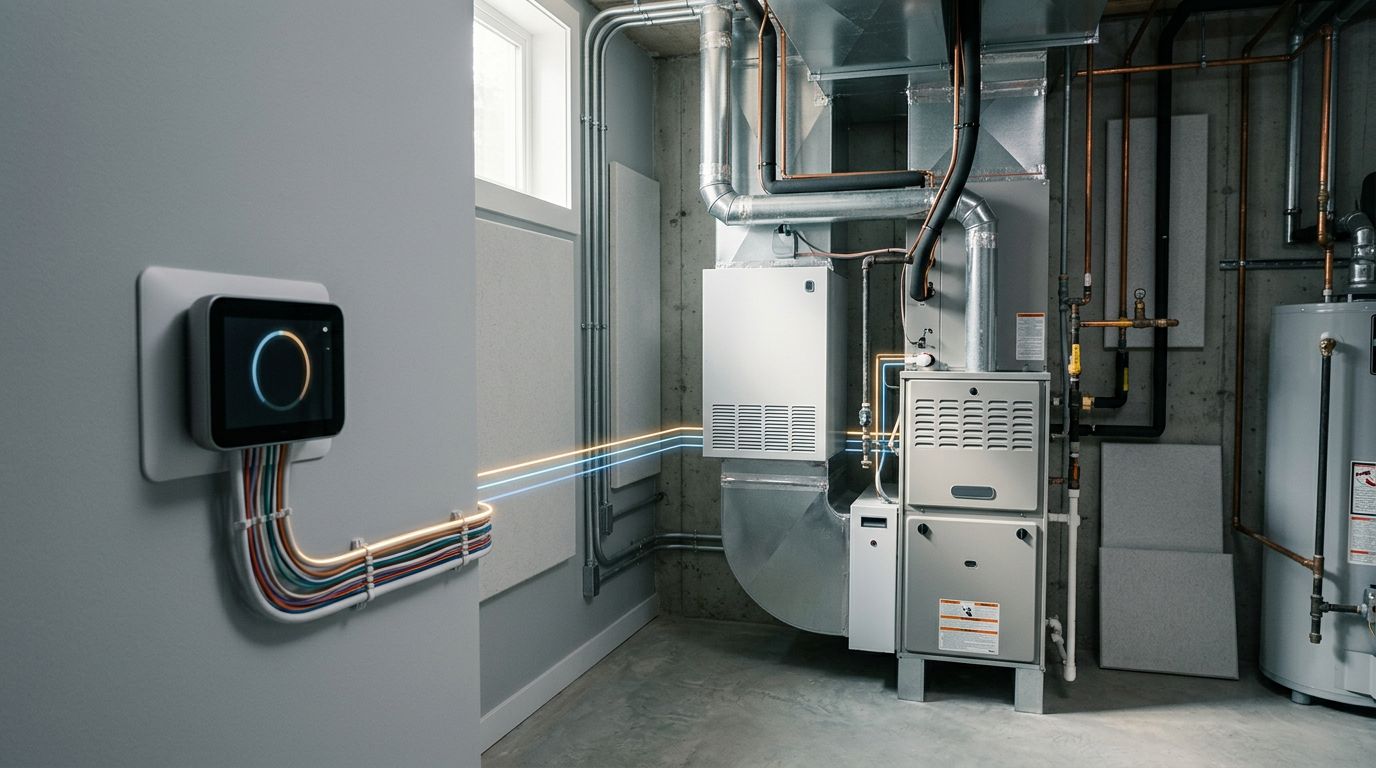
Take a close-up straight on, with the current temperature, set temperature, mode, and fan setting visible. If the thermostat displays an error message or alert, take a second photo before resetting anything.
Then step back and photograph the thermostat on the wall. This wider view can reveal its location near a kitchen, exterior door, sunny window, or supply vent. Those conditions can affect how it reads the room.
2. Capture the air handler from a safe distance
Your indoor unit may sit in a garage, closet, attic, or utility room. Take one wide photo that shows the cabinet, drain line, nearby insulation, and floor beneath it. Next, take a close-up of any visible water, rust, ice, or staining.
Avoid reaching into an attic with poor footing or photographing near exposed electrical parts. If the unit is difficult to access, describe its location instead.
3. Photograph the outdoor condenser
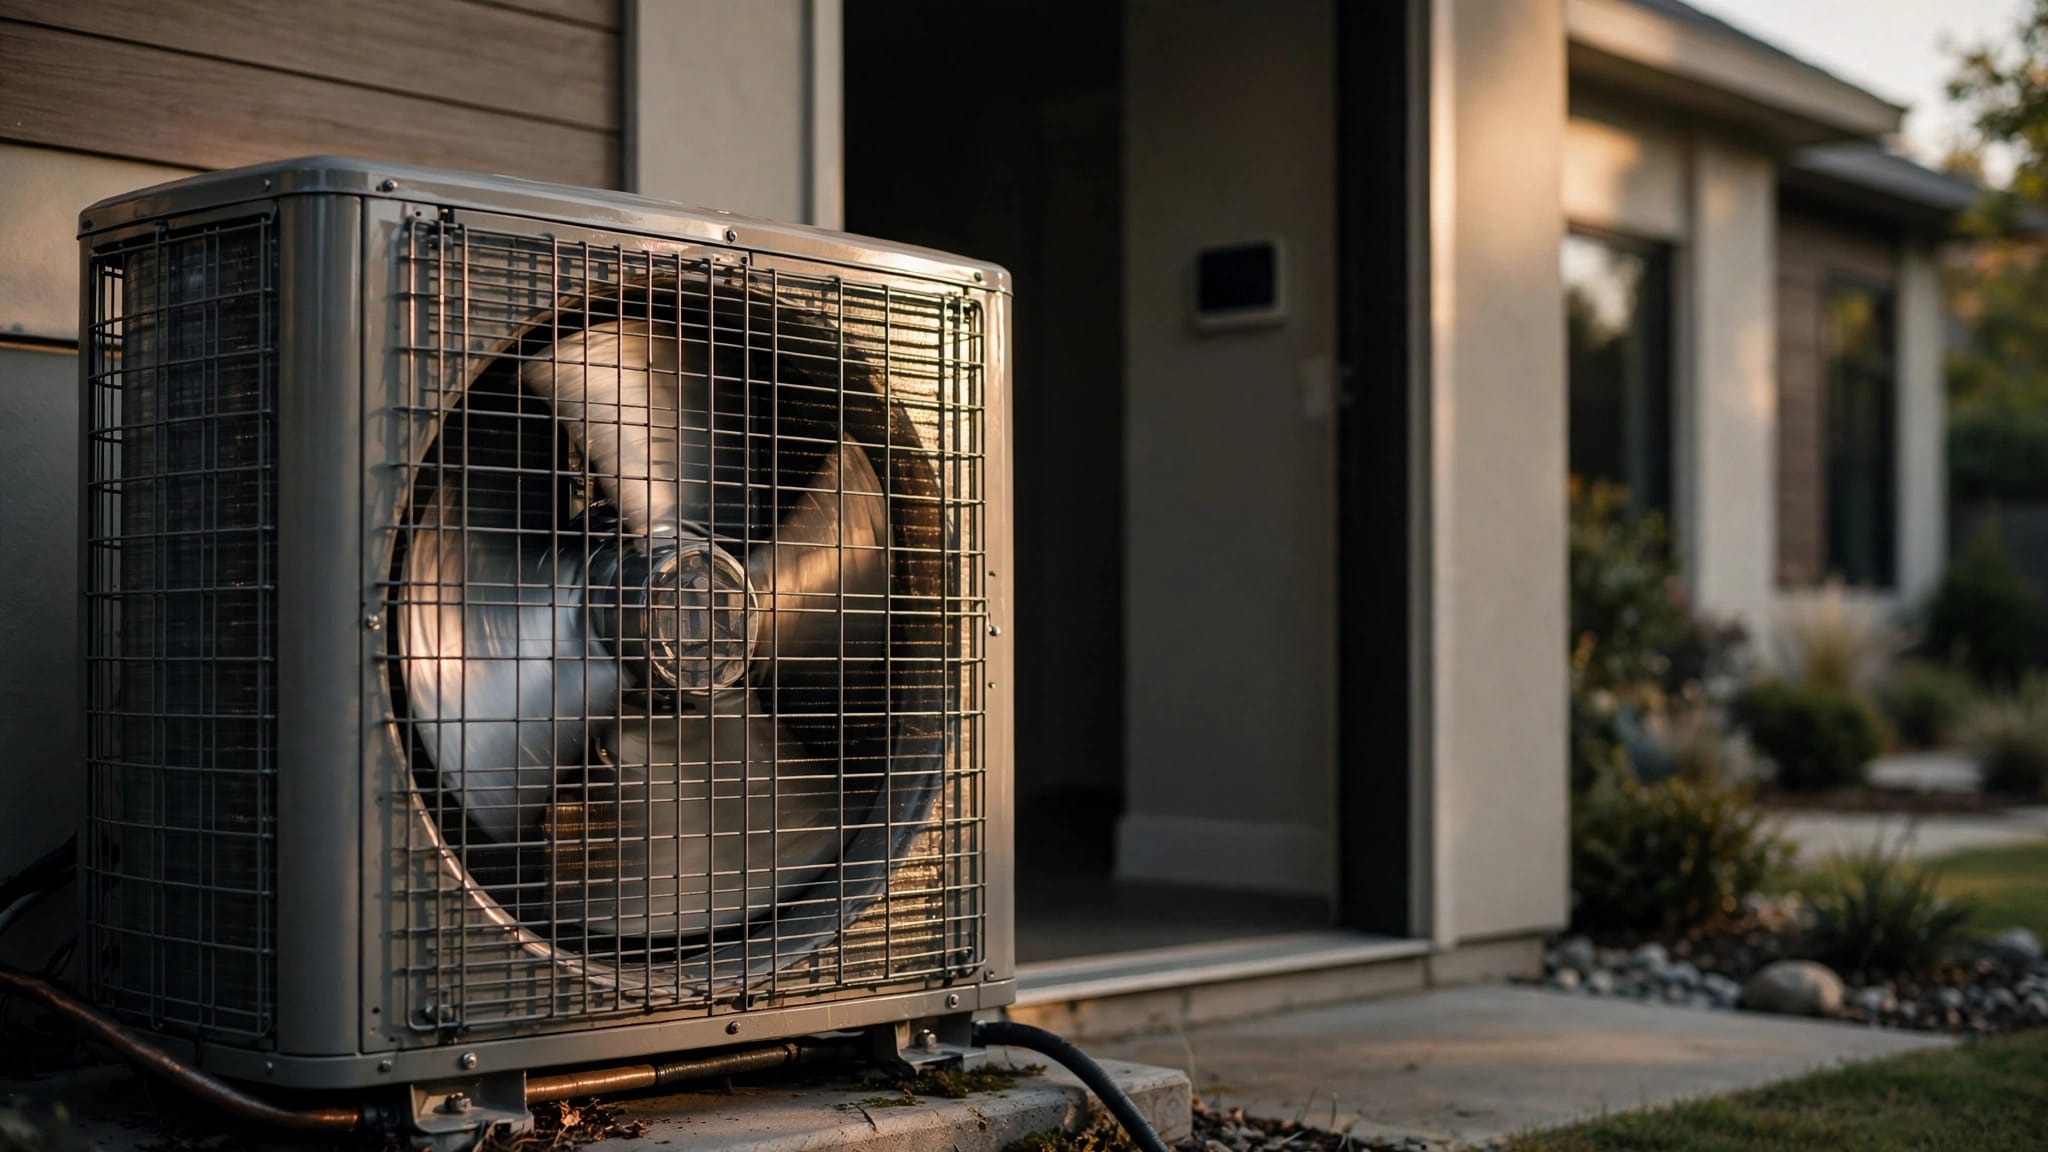
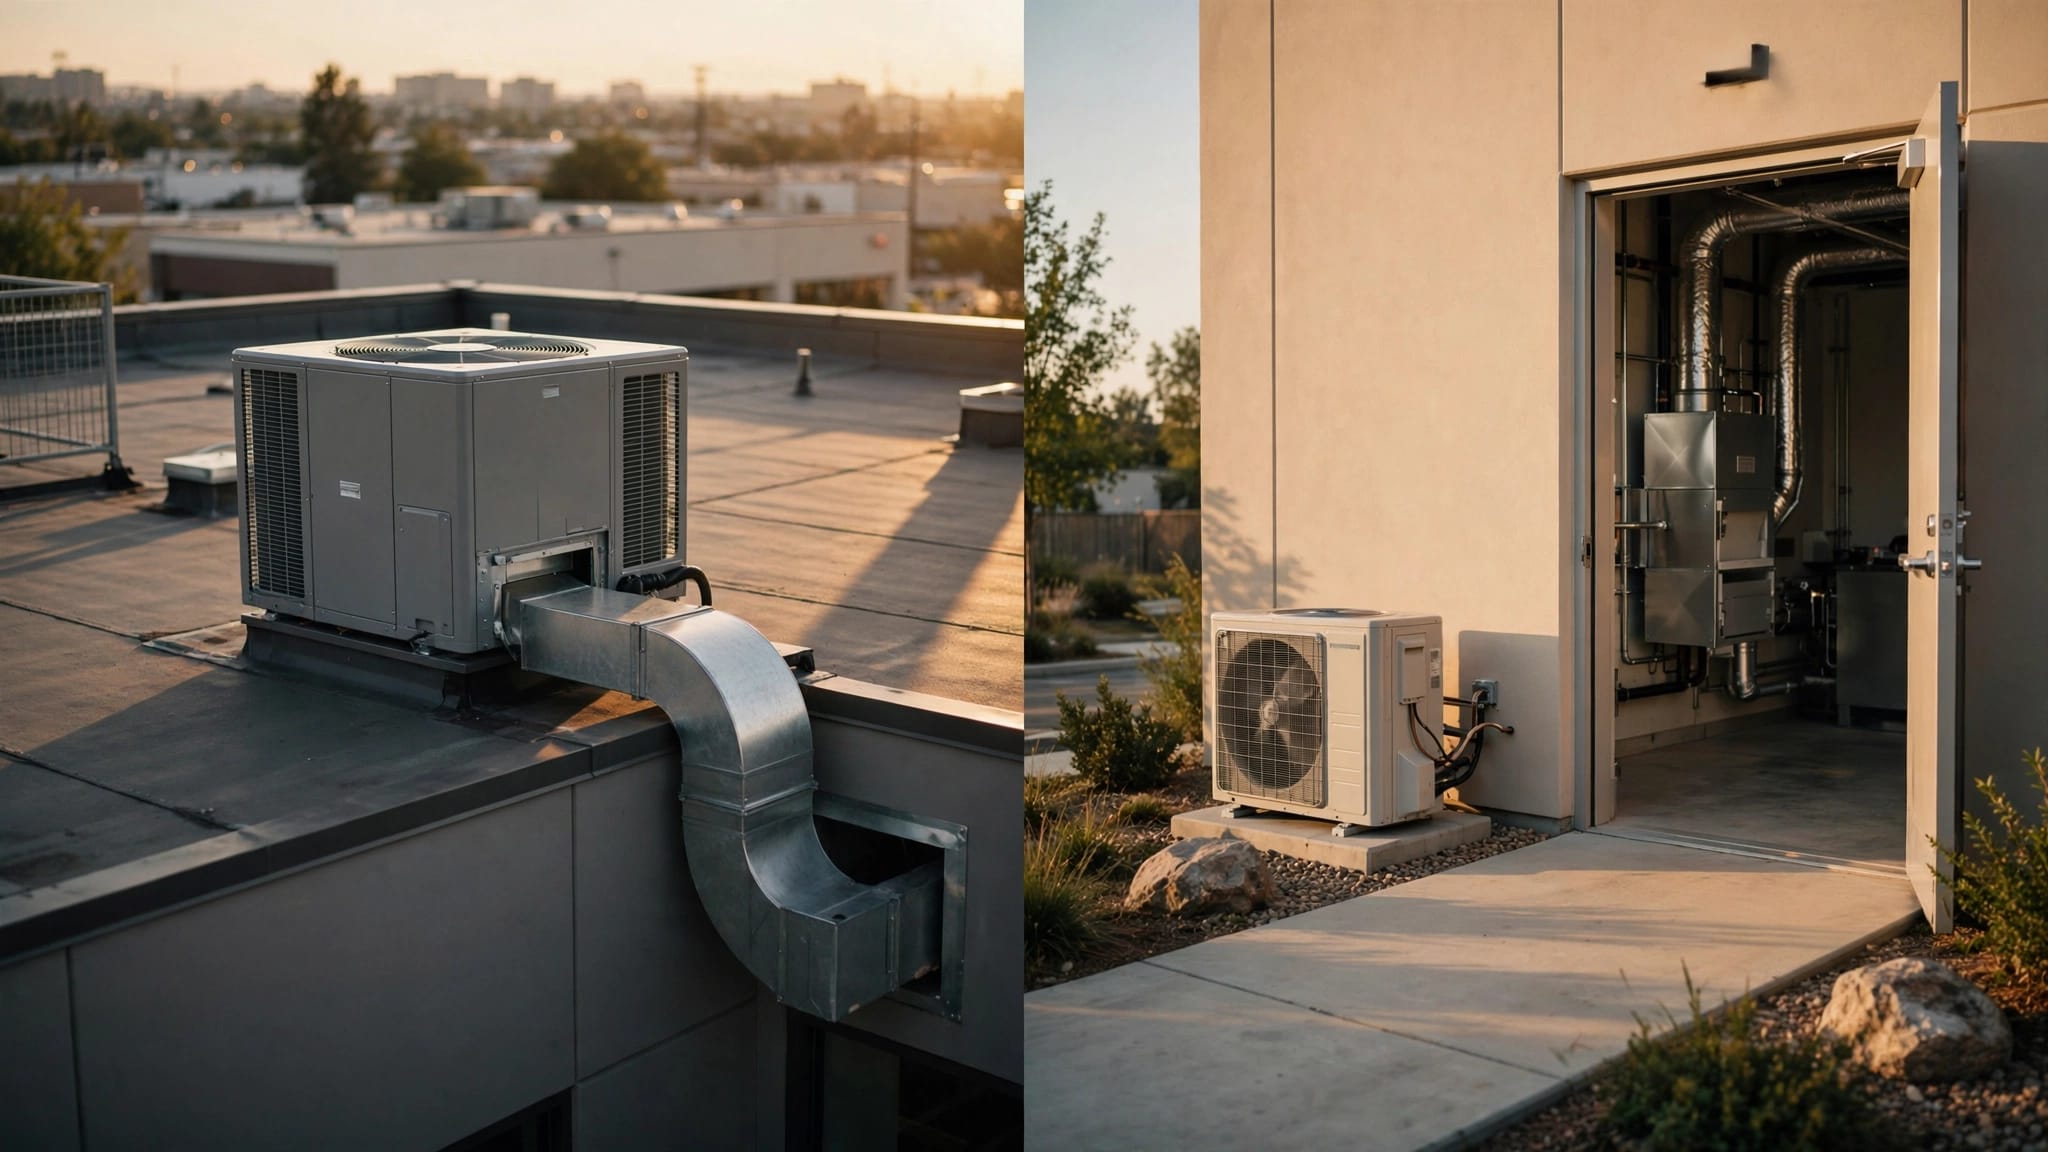
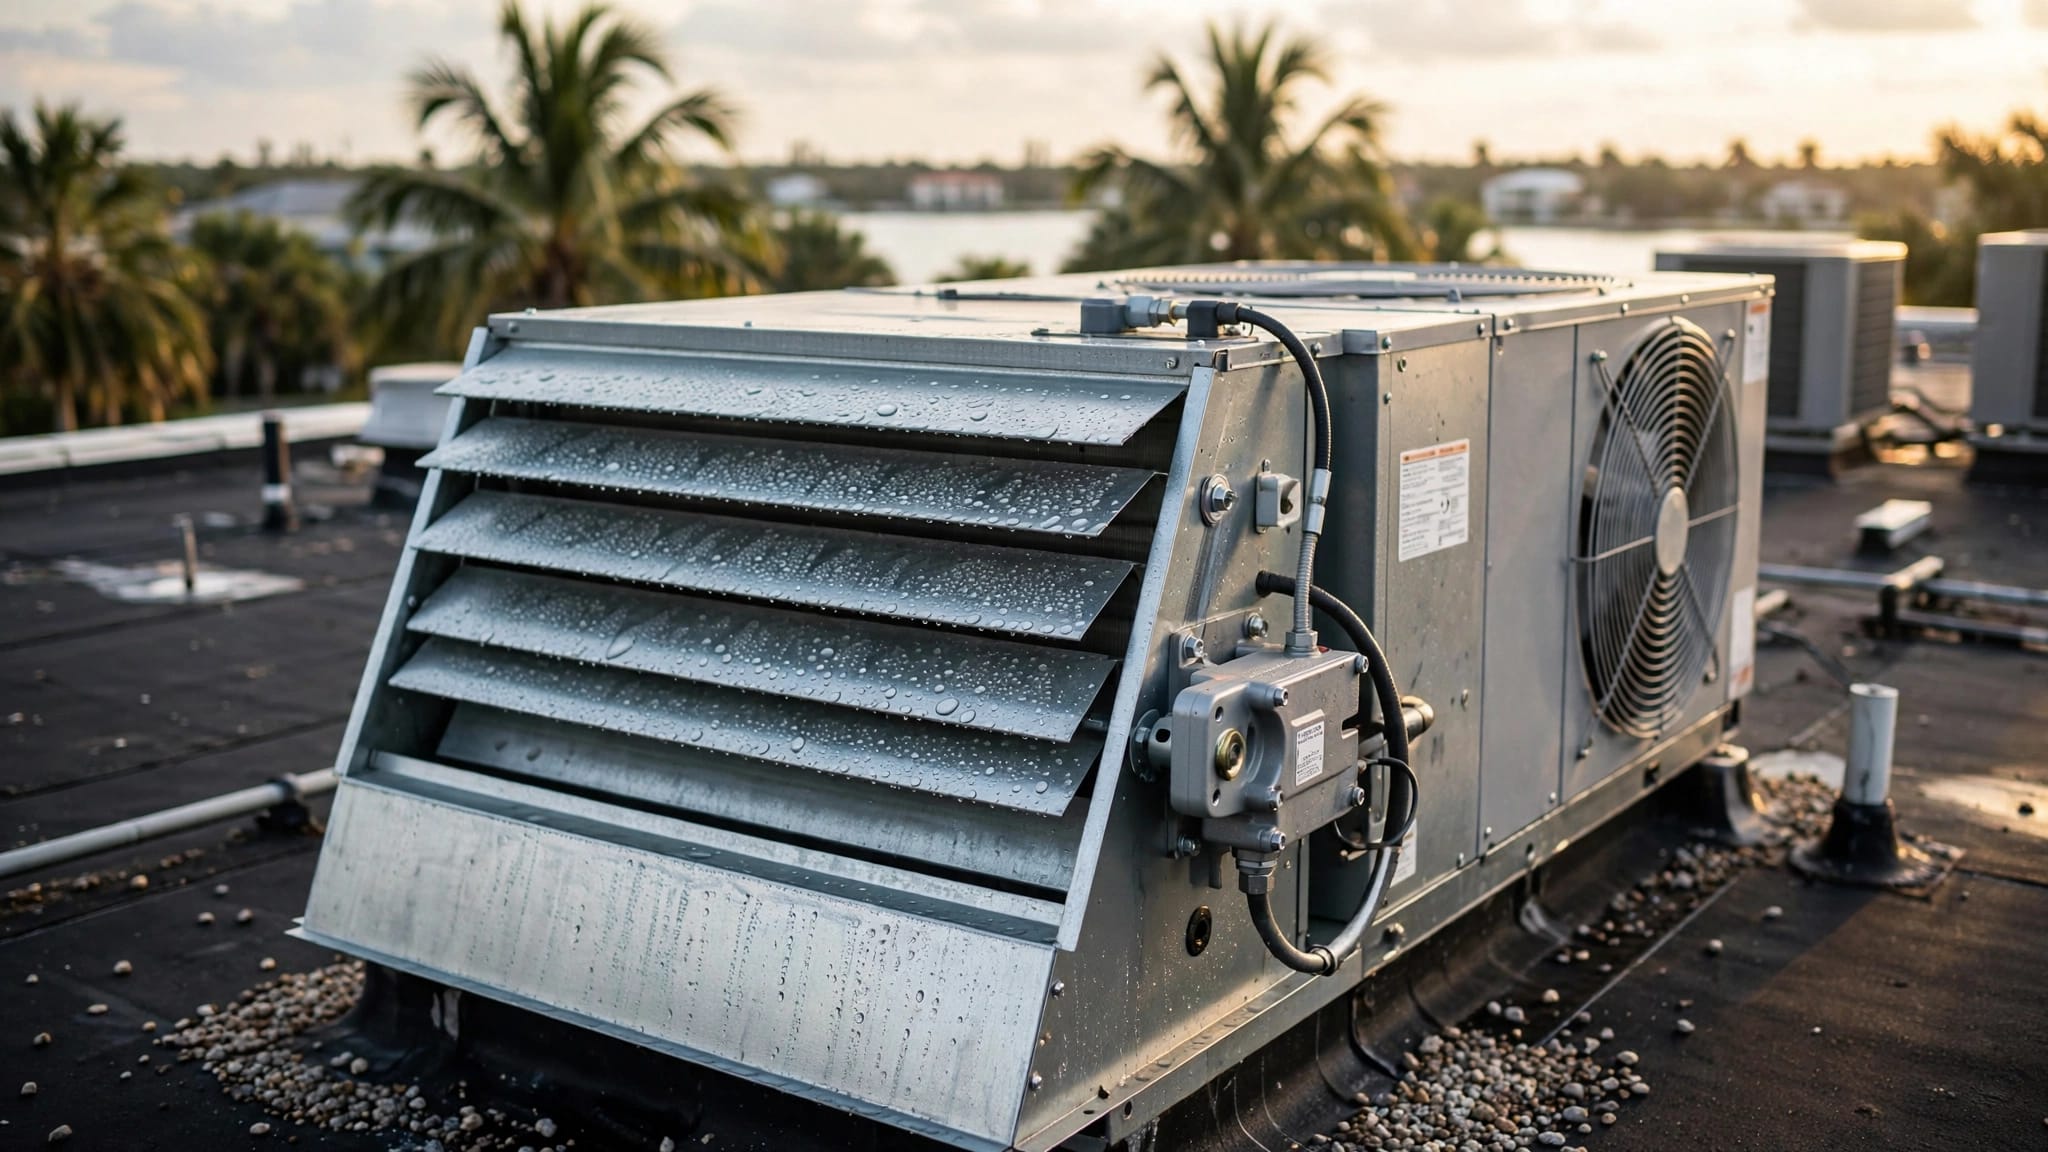
Take a wide image of the entire condenser, including the clear space around it. A close-up can show crushed coil fins, leaves packed against the coil, standing water, or damage to the refrigerant-line insulation.
Keep your hands away from the fan grille and electrical disconnect. The unit can start unexpectedly. If cooling has stopped during a Southwest Florida heat spell, photos can support a faster conversation about air conditioning repair in Cape Coral.
Photograph Airflow and Visible Symptoms
Some HVAC problems show up away from the main equipment. Capture signs that point to restricted airflow, drainage trouble, or uneven cooling.
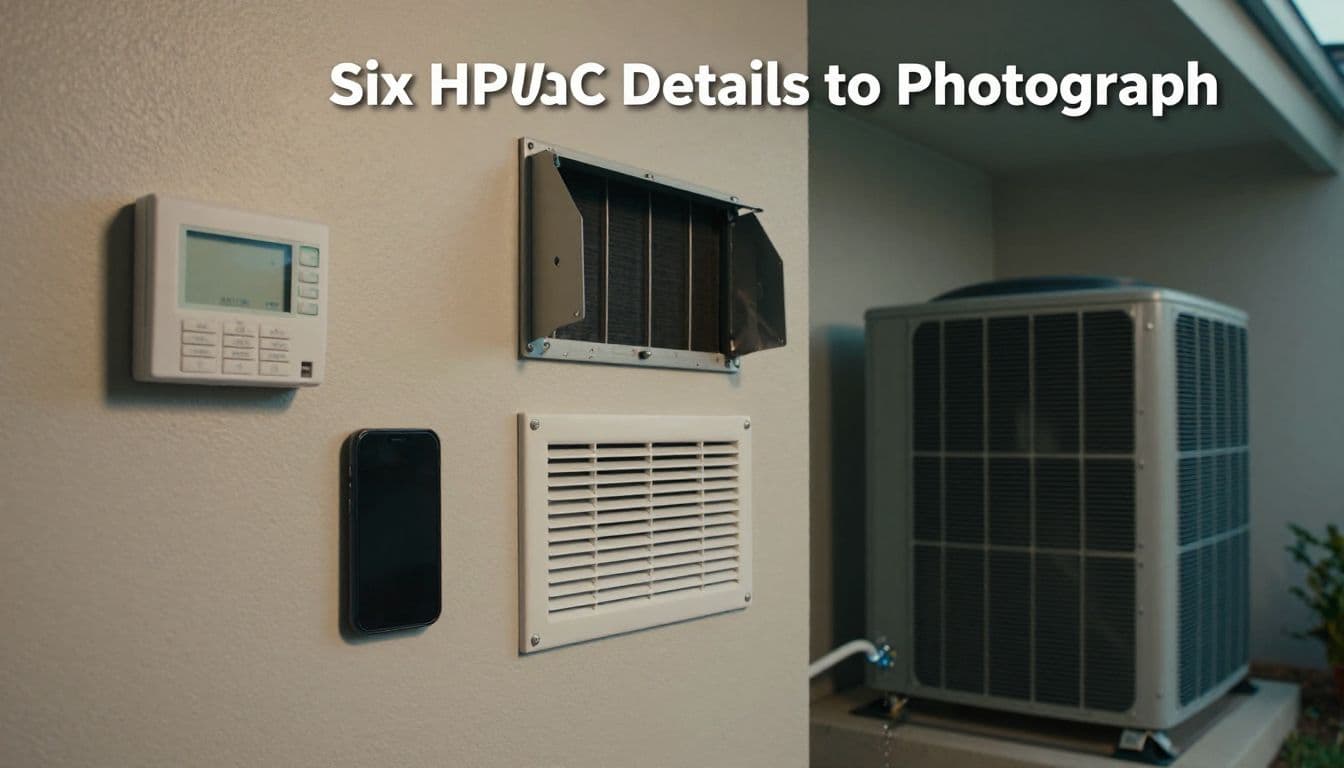
4. Show the air filter and its slot
If your filter is easy to reach, take a photo of it before removal. Include the direction arrow and any visible dust buildup. Take another photo of the filter size printed on its frame if it is readable.
Don't force a stuck filter or reach beyond a safe access point. A technician can check the condition during the HVAC service call if the filter cabinet is inaccessible.
5. Take pictures of supply vents and returns
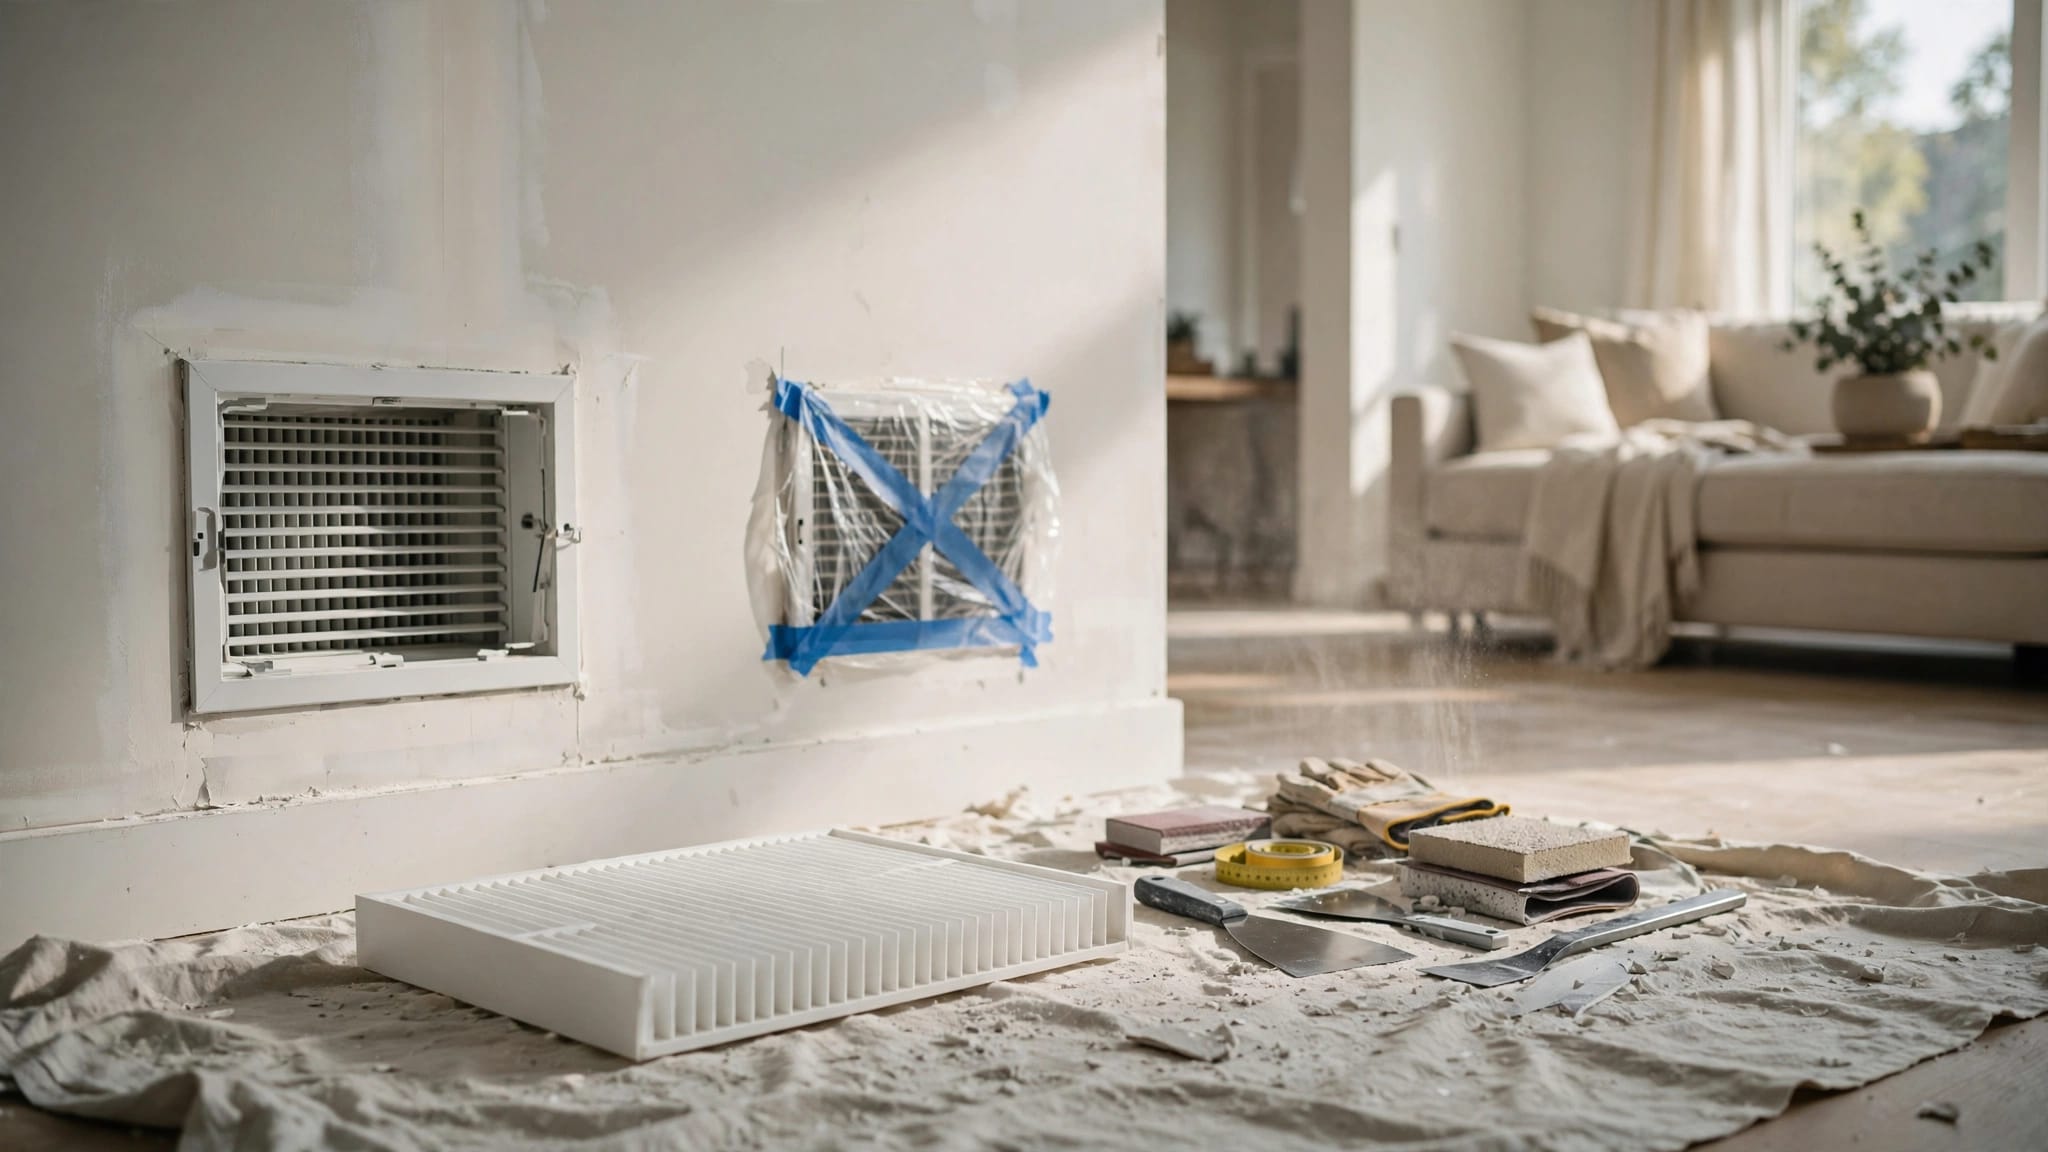
Choose the rooms that feel warmer, cooler, stuffier, or more humid than the rest of the home. Photograph one supply vent and one return grille in each problem area. Use a wide shot to show the room, furniture placement, and nearby doors.
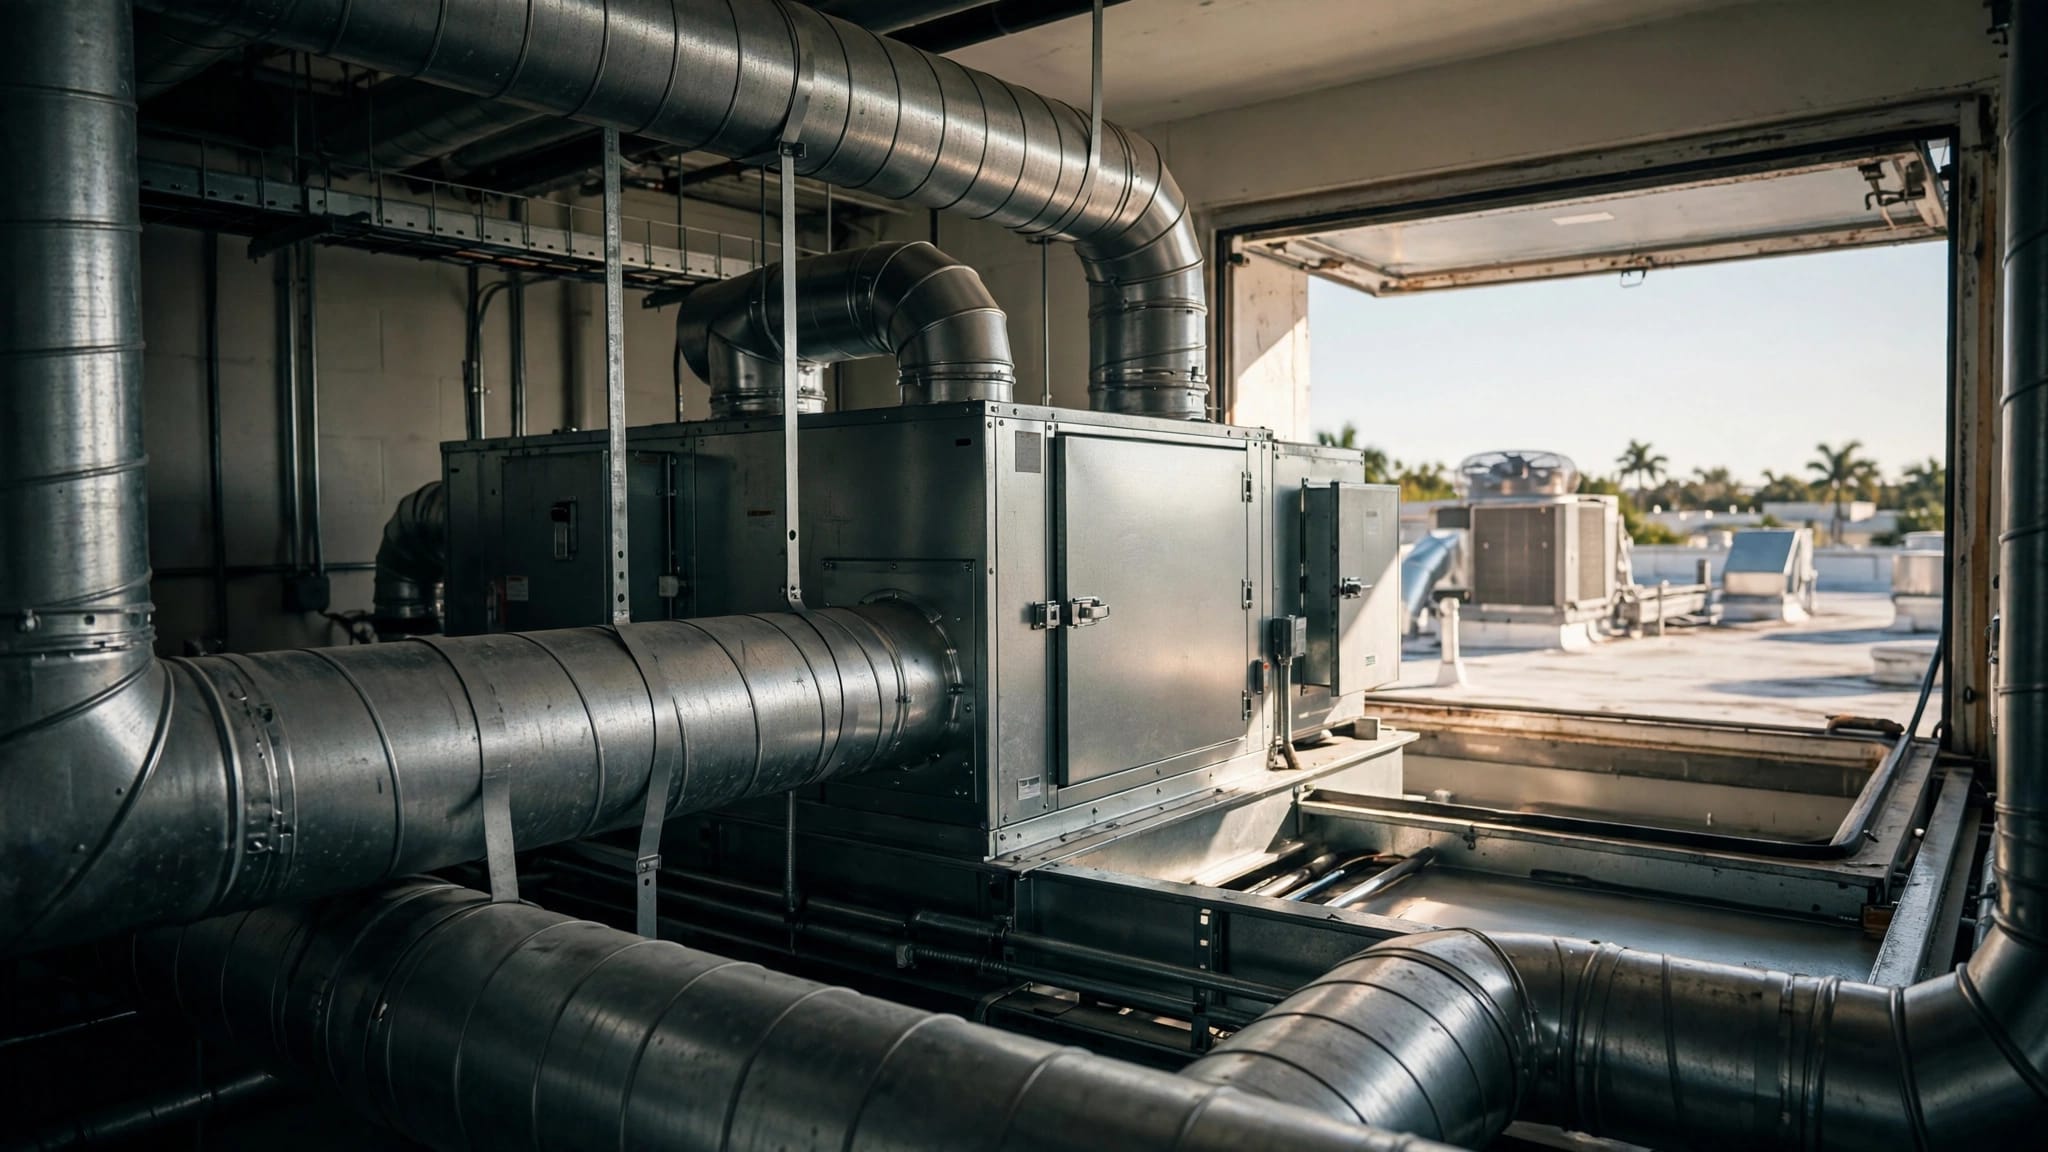
A closed or blocked vent can affect comfort, but uneven airflow may also trace back to the duct system. Photos of damaged, loose, or sweating accessible ducts can help start a conversation about ductwork repair and replacement.
6. Record water, ice, or other warning signs
Take a close-up of water near the air handler, drain pan, drain line, or outdoor unit. Follow it with a wider photo that shows the surrounding floor or wall. If you see ice on the refrigerant line or indoor coil area, photograph it from a distance without touching it.
Also photograph visible mold-like spotting around vents or ceiling stains near equipment. These clues help a technician separate an HVAC issue from a roof leak, plumbing problem, or moisture concern.
Final Check Before the Technician Arrives
Keep the photos on your phone and be ready to show them during the visit. Clear a safe path to the thermostat, indoor unit, and outdoor condenser, but don't move panels or try to repair the system yourself.
If your system blows warm air, leaks heavily, smells burnt, or trips the breaker, request help promptly. You can review AC service call costs in Cape Coral and Contact Us to schedule 24/7 service.
Clear photos won't replace a hands-on diagnosis, but they can make the HVAC service call more focused and help your technician get to the real problem sooner.